

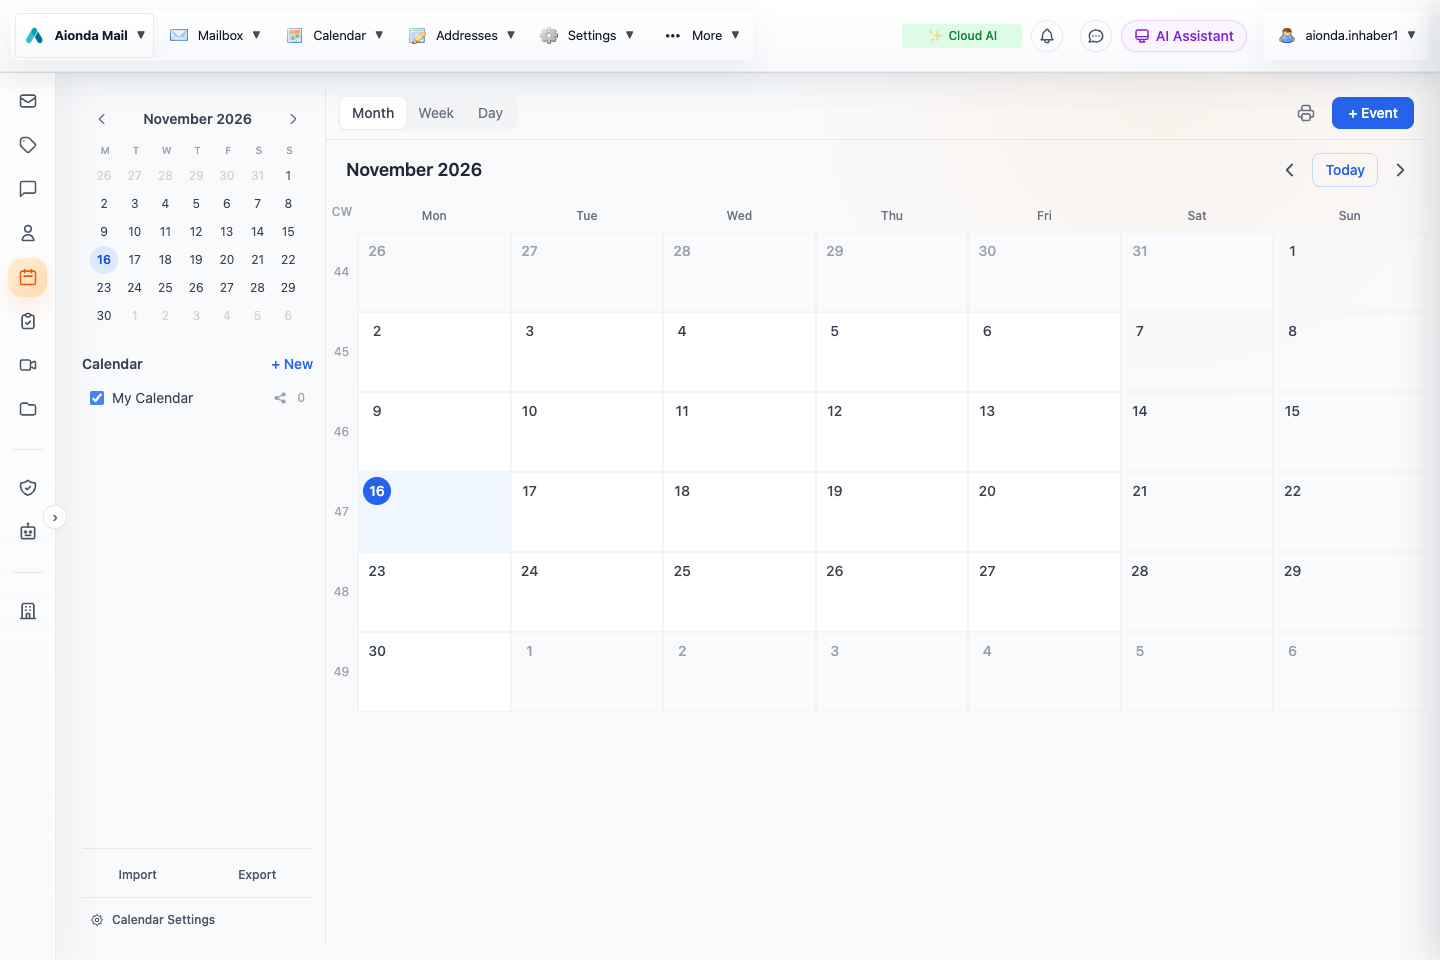
- Choose the calendar view.
- Select a day or appointment in the calendar workspace.
Select the screenshot to open the full-size image.
Create an event
- Open Calendar and choose the date or New event.
- Enter a title, start and end time, and the correct calendar.
- Check the time zone, all-day setting and recurrence if applicable.
- Add participants and review the details before saving or sending invitations.
A recurring event represents a series. When editing, pay attention to whether the action affects one occurrence or the series. Browser locale can change the appearance of dates even when the application language is English.
Find a time together: Scheduling Assistant
Compare participants’ free and busy times side by side before sending an invitation. Instead of exchanging messages about possible times, look for an opening across the rows in one visual timeline. This is especially useful for team meetings and project planning.
Where to open it
- Open Calendar in the sidebar and select + Event, or open an existing appointment.
- Enter the event title and its proposed start and end time.
- Under Invite people, add a participant. Choose employees lets you select visible colleagues from your company.
- Once a participant has been added, select Scheduling Assistant below the participant field.
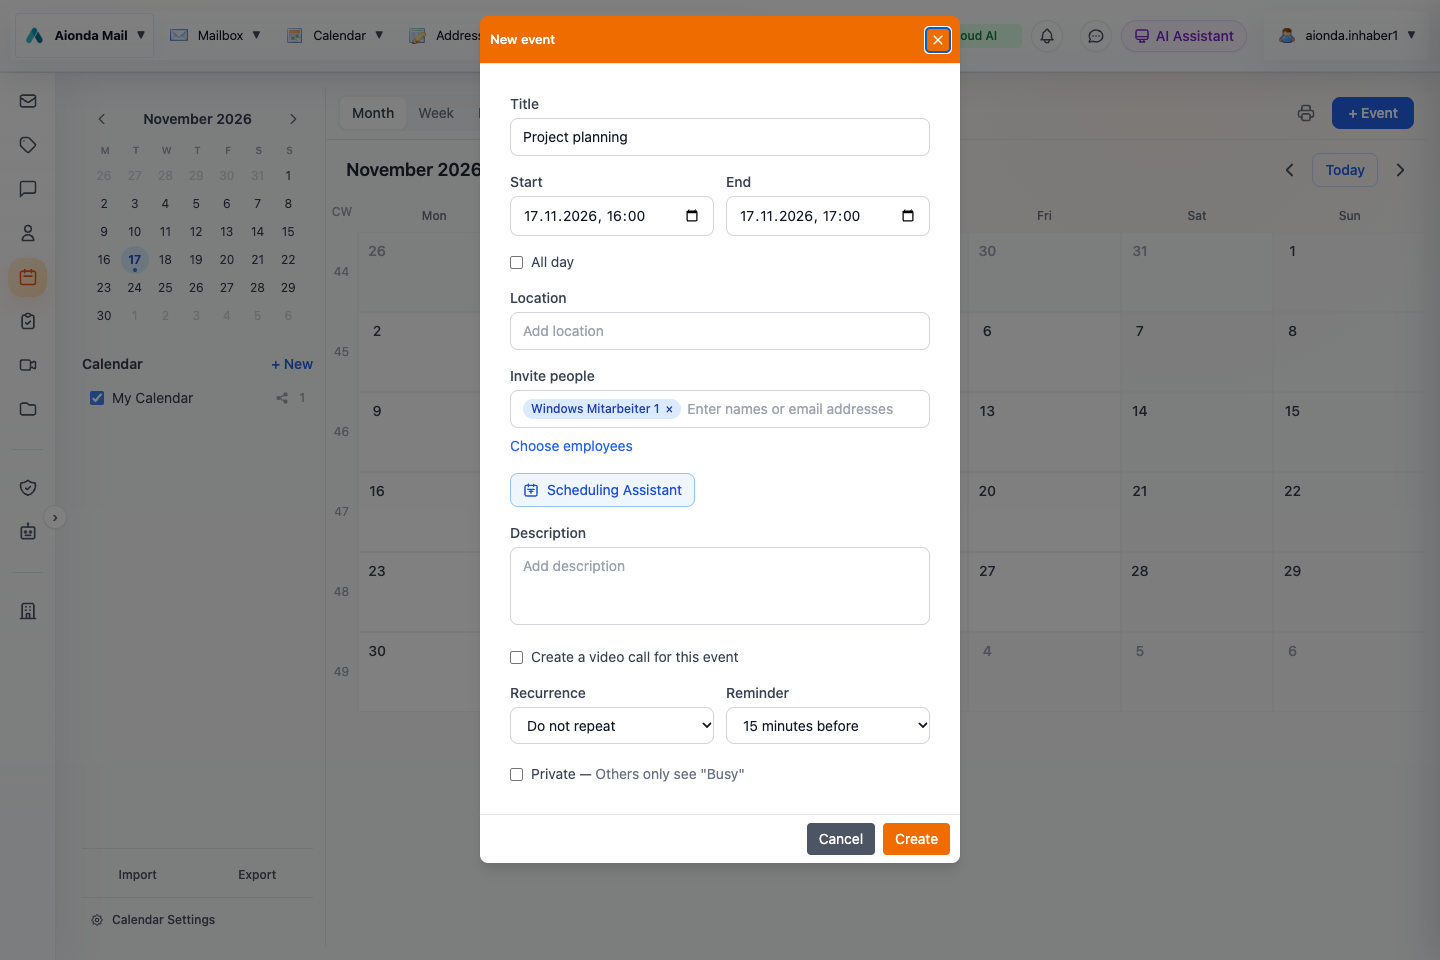
- Add participants with Invite people or Choose employees.
- Open Scheduling Assistant.
- Review the event before creating it; the example invitation has not been sent.
Select the screenshot to open the full-size image.
Read the availability grid
The organizer appears first, followed by the selected participants. The example below uses a test colleague and a real test appointment: the organizer is busy from 14:00 to 15:00, while the proposed meeting is selected from 16:00 to 17:00.
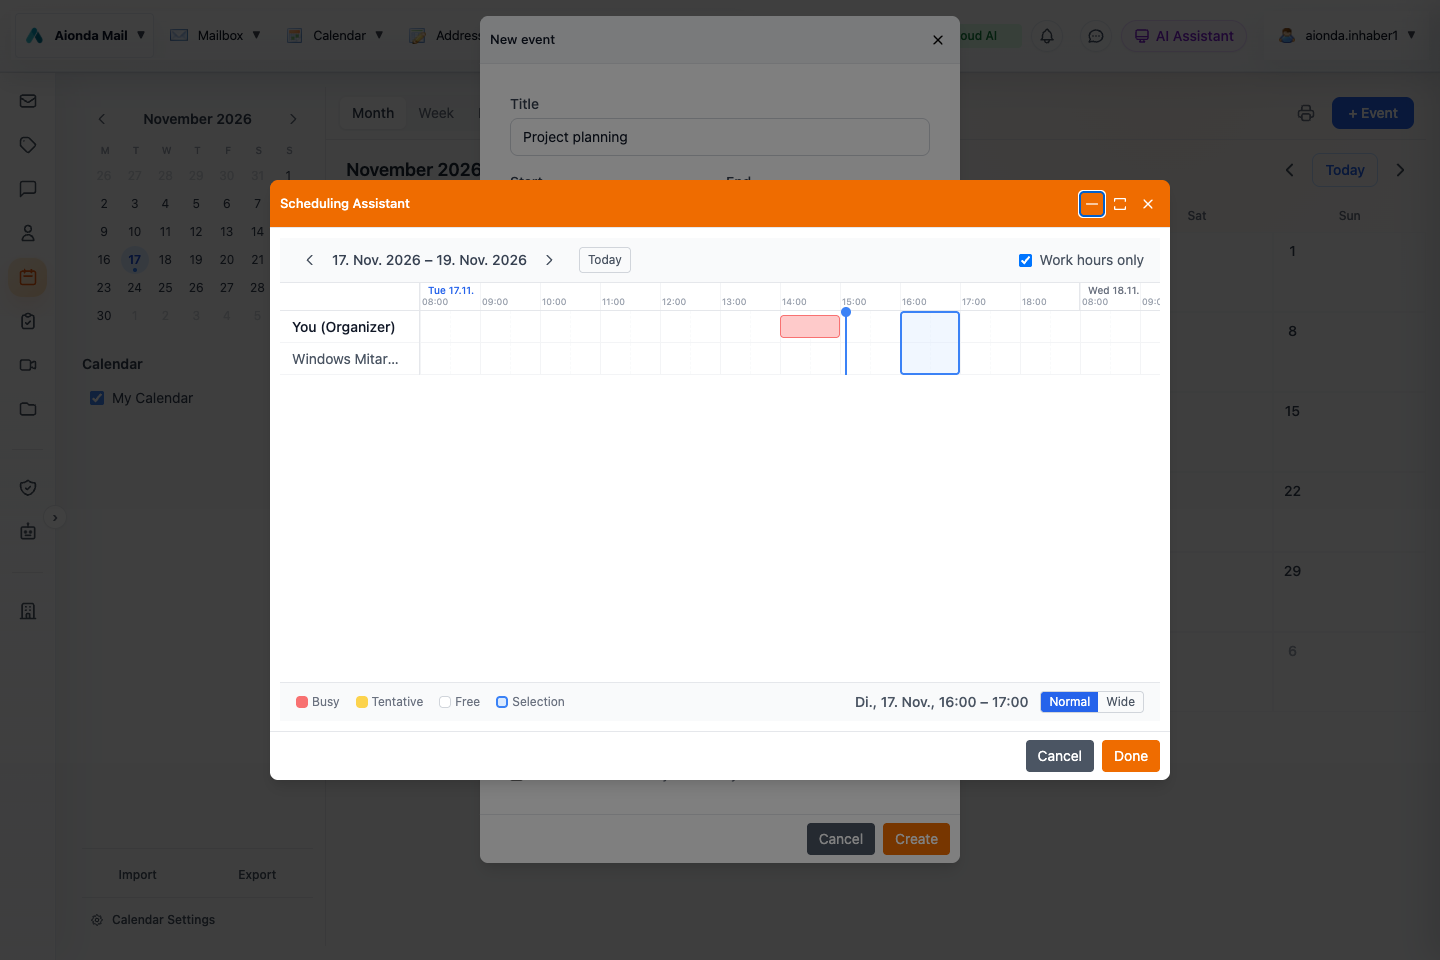
- Navigate the date range and change the work-hours view.
- Compare the participant rows: red marks the organizer’s test appointment.
- The blue outline shows the proposed meeting time.
- Review the selected time and choose Done to return it to the event form.
Select the screenshot to open the full-size image.
- Busy (red): a reported occupied time block. Avoid placing the meeting over it.
- Tentative (amber): a provisional commitment that may still conflict with your meeting.
- Free: no occupied block was reported for that time, provided availability loaded successfully.
- Selection (blue outline): the proposed meeting time across the participant rows.
Choose and apply a time
- Use the previous/next day arrows or Today to choose the date range. Scroll horizontally to see the other days.
- Use Work hours only to narrow the displayed hours. Normal and Wide change the horizontal scale.
- Click a suitable time in the grid and check the selected interval shown below it.
- Select Done to apply the start and end time to the event form.
- Review the duration, participants and remaining details, then create or save the event. Done alone does not send an invitation.
Availability and privacy
The assistant requests free/busy blocks, not the titles, descriptions or locations of another person’s appointments. Access depends on the person’s availability-sharing setting and your permitted relationship, such as company visibility or a calendar share. It does not grant access to a colleague’s full calendar.
Availability unknown is not the same as free. If a person cannot be resolved, access is unavailable or a request fails, confirm the time with that person. Adding an external email address does not automatically connect to their Google or Microsoft calendar. The grid is a planning aid: check recurring commitments and time zones when confirming the final appointment.
Invitations and shared calendars
Accept, decline or tentatively respond to invitations as appropriate. External recipients receive ordinary calendar invitations through email. Share calendars explicitly with eligible users and the appropriate permission; being visible in the directory does not automatically reveal all calendar details.
AI scheduling
The assistant can retrieve events and prepare new ones through supported tools. Check dates, time zones and participants in the resulting event, especially when the request uses phrases such as “next Friday”. Use an exact date when ambiguity would matter.